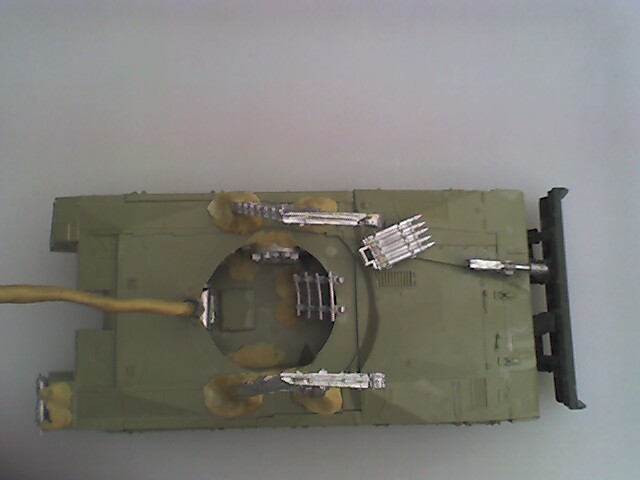
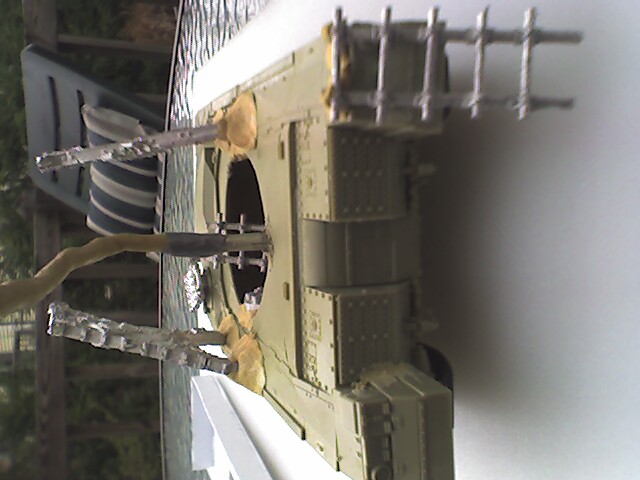
I fixed a boiler door (from an Imperial Steam Tank) into the port portion of the hatch into the tank.
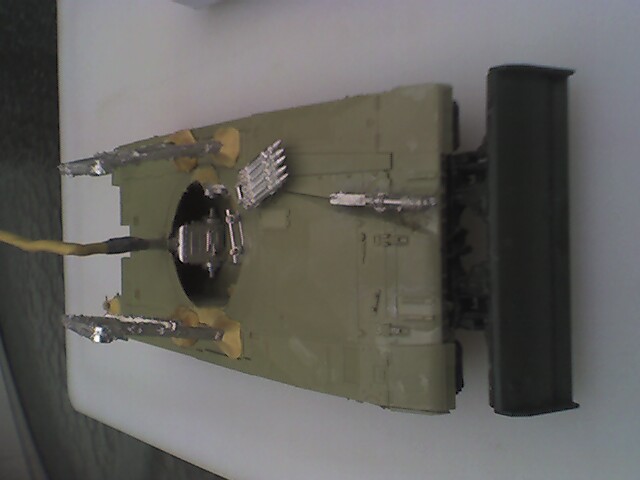
I cut a siege ladder into two pieces, and fixed one into the fore fortion of the hatch in the tank, and fixed the rest of it into place on the starboard side of the aft tail for boarding the tank.
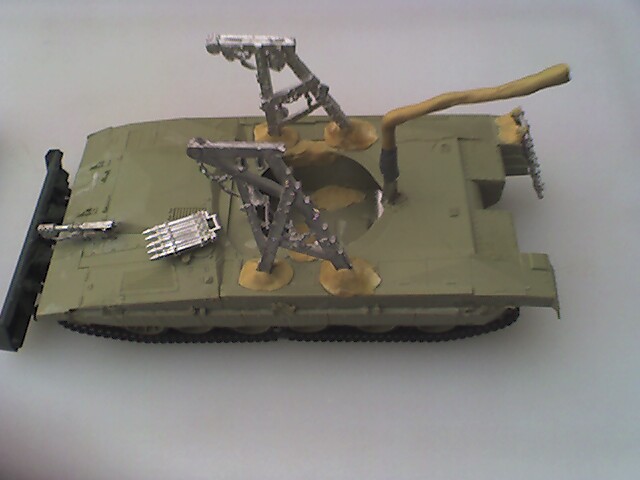
I fixed two weapons to the fore portion of the hull, facing forward; an Ork Dreadnought Skorcha, and a Rokkit Buggy Rokkit Launcher.
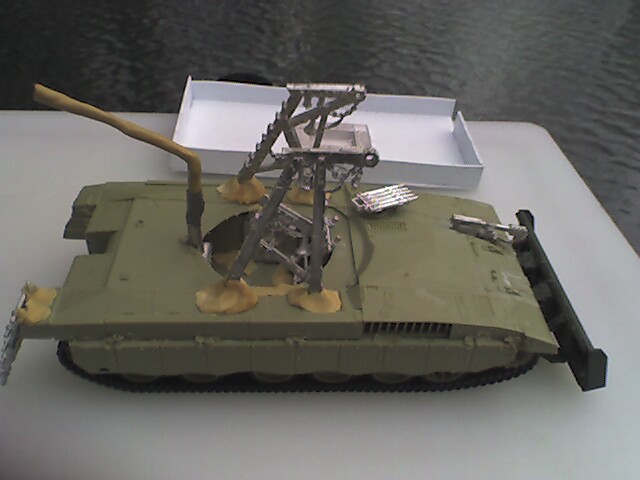
Then I pulled out the modelling epoxy. I used it generously to seal cracks, to model a banged-up steampipe (which I glued to the top of the boiler), and to affix scaffolding to the top of the tank. I also applied the epoxy generously to holes and gaps in the model -- not going to any especial effort to trim or model the epoxy, as the epoxy represents to orcish agent or molten metal which the orks had used to repair and affix things to the battlewagon.
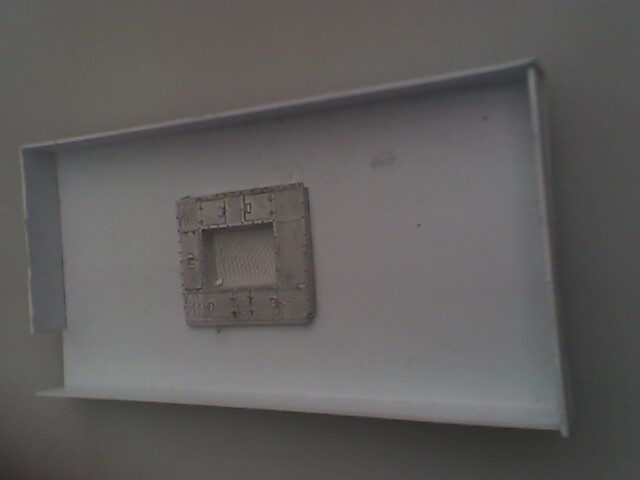
By this point, some plasticard had come in the mail for me (.060" Plain White Styrene Sheets, manufactured cheap by estreetplastics.com). So I started preparing a large platform to go over the tank. I cut out a 4"x6" sheet. I glued some 5/8" sides around it (leaving one small area in the back open for a ladder, so the Orks could climb up). I cut out a small square in the center back, into which I glued a basilisk platform.
Please email comments to sgray@unseelie.org by pressing here.
To visit Scott Gray's homepage please press here.